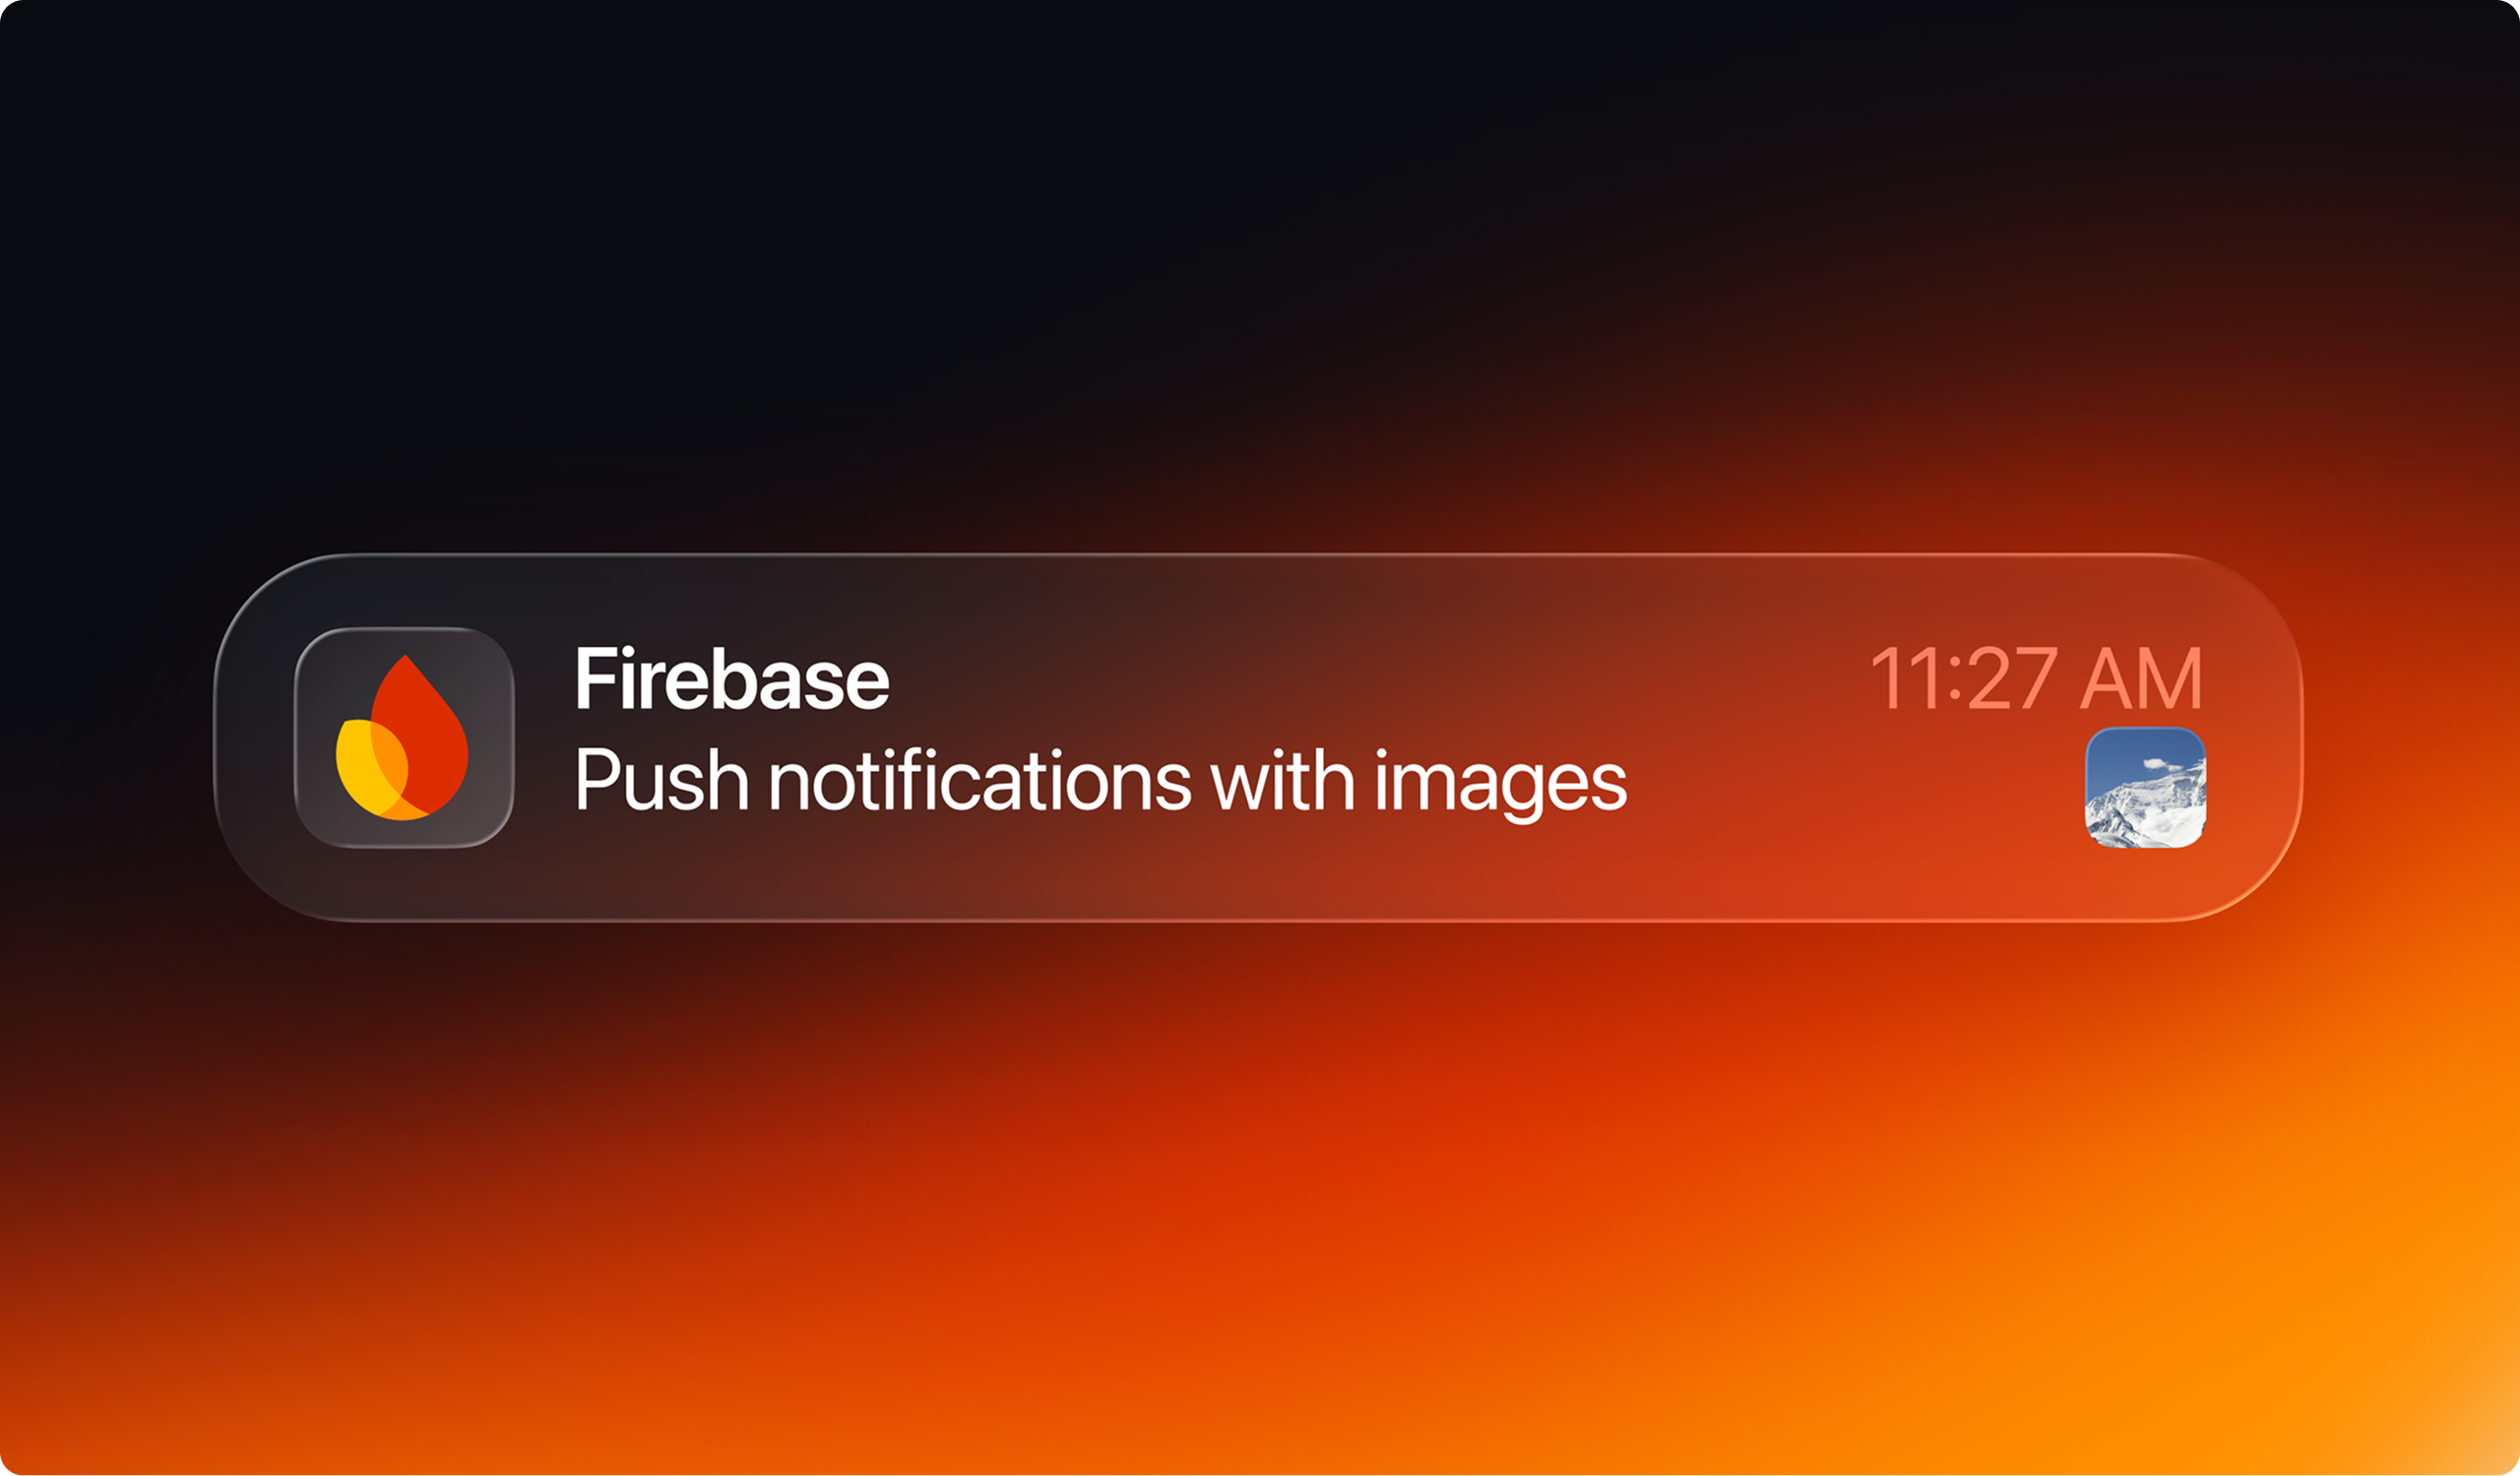


Imagine enabling your users to receive and send rich iOS push notifications (image, stickers, emojis, or gifs) in .NET MAUI. While text push notifications are old news, enabling notification service extension in iOS is another deal. Overcoming iOS and Firebase limitations for images requires several steps, and today we are going to guide you through them.
It’s commonplace to use Firebase cloud messaging to mobile devices in .NET MAUI projects. While integrating Firebase push notifications is straightforward with the right library, attaching images like stickers or emojis to such notifications requires additional steps, especially for iOS. On Android, image notifications work seamlessly out of the box, but iOS demands some extra configuration to ensure images display correctly.
iOS and Firebase Limitations for Images
To display an image in a notification on iOS, Firebase must download the image before the notification is shown. This process is time-sensitive, with a maximum of 30 seconds to complete. To ensure success, adhere to the following restrictions:
- Image size: Keep images under 300 KB.
- URL requirements: Use a direct HTTPS link to the image, avoiding redirects.
- Supported formats: Use .jpg, .jpeg, or .png. (Feel free to try other formats like .gif)
Implementing the Notification Service Extension for iOS
To handle images in iOS notifications, you need a Notification Service Extension. This extension intercepts the notification before it’s displayed, allowing you to process the payload and attach the image using Firebase’s PopulateNotificationContent method. Let’s set it up step by step, following Firebase and iOS guidelines.
Step 1: Create the Notification Service Extension
Start by adding a new project to your MAUI solution:
- In Rider, right-click your solution and select Add -> New Project.
- Choose the Notification Service Extension template from the MAUI templates list.

After creating the project, your new Notification Service Extension project should include three critical files:
- .csproj
- Info.plist
- NotificationServiceClass.cs
Each file requires specific changes to enable image notifications.

Step 2: Configure the .csproj File
The .csproj file needs adjustments to include the Firebase library for downloading and attaching images. Ensure the OutputType is set to Library for proper compilation. Here’s how it should look:
<Project Sdk="Microsoft.NET.Sdk">
    <PropertyGroup>
        <TargetFramework>net9.0-ios</TargetFramework>
        <Nullable>enable</Nullable>
        <ImplicitUsings>true</ImplicitUsings>
        <SupportedOSPlatformVersion>14.2</SupportedOSPlatformVersion>
        <IsAppExtension>True</IsAppExtension>
        <OutputType>Library</OutputType>
        <IsWatchExtension>False</IsWatchExtension>
        <MtouchEnableBitcode>false</MtouchEnableBitcode>
    </PropertyGroup>

    <ItemGroup>
        <CustomEntitlements
          Include="aps-environment"
          Type="String"
          Value="development"
          Condition="'$(Configuration)' != 'Release'"/>
        <CustomEntitlements
          Include="aps-environment"
          Type="String"
          Value="production"
          Condition="'$(Configuration)' == 'Release'"/>
    </ItemGroup>

    <ItemGroup>
        <PackageReference
          Include="Plugin.Firebase.CloudMessaging" Version="3.1.2" />
    </ItemGroup>

</Project>
Add the Plugin.Firebase.CloudMessaging package to handle image downloading. This package is essential for processing notification payloads with images.
Step 3: Update the Info.plist File
The Info.plist file defines the extension’s configuration. You need to set two key properties:
- MinimumOSVersion: Match the minimum OS version of your main MAUI project.
- CFBundleIdentifier: Use the format {your app bundle ID}.{appname}serviceextension.
For example, if your app’s bundle ID is com.devsx.imagenotificationsapp, the extension’s bundle ID should be com.devsx.imagenotificationsapp.imagenotificationsappserviceextension.
Here’s the updated Info.plist:
<?xml version="1.0" encoding="UTF-8"?>
<!DOCTYPE plist PUBLIC "-//Apple//DTD PLIST 1.0//EN" "http://www.apple.com/DTDs/PropertyList-1.0.dtd">
<plist version="1.0">
<dict>
    <key>CFBundleDisplayName</key>
    <string>NotificationServiceExtension</string>
    <key>CFBundleName</key>
    <string>NotificationServiceExtension</string>
    <key>CFBundlePackageType</key>
    <string>XPC!</string>
    <key>CFBundleShortVersionString</key>
    <string>1.0</string>
    <key>CFBundleVersion</key>
    <string>1.0</string>
    <key>MinimumOSVersion</key>
    <string>14.2</string>
    <key>CFBundleIdentifier</key>
    <string>com.yourappbundleid.appnameserviceextension</string>
    <key>NSExtension</key>
    <dict>
        <key>NSExtensionPointIdentifier</key>
        <string>com.apple.usernotifications.service</string>
        <key>NSExtensionPrincipalClass</key>
        <string>NotificationService</string>
    </dict>
</dict>
</plist>
Step 4: Modify the NotificationServiceClass.cs File
The NotificationServiceClass.cs file contains the core logic for processing notifications. The template generates most of the necessary code, but you need to add a Firebase method to handle the image. Replace the default base.DidReceiveNotificationRequest(request, contentHandler) call with MessagingExtensionHelper.PopulateNotificationContent to attach the image.
Here’s the updated file:
using ObjCRuntime;
using UserNotifications;
using Firebase.CloudMessaging;

namespace NotificationServiceExtension
{
    [Register("NotificationService")]
    public class NotificationService : UNNotificationServiceExtension
    {
        private UNMutableNotificationContent? _bestAttemptContent;
        private Action<UNNotificationContent> _contentHandler;

        protected NotificationService(NativeHandle handle) : base(handle)
        {
        }

        public override void DidReceiveNotificationRequest(UNNotificationRequest request, Action<UNNotificationContent> contentHandler)
        {
            _contentHandler = contentHandler;
            _bestAttemptContent = (UNMutableNotificationContent)request.Content.MutableCopy();

            new MessagingExtensionHelper().PopulateNotificationContent(_bestAttemptContent, _contentHandler);
        }

        public override void TimeWillExpire()
        {
            if (_bestAttemptContent != null)
            {
                _contentHandler?.Invoke(_bestAttemptContent);
            }
        }
    }
}
This modification ensures the Apple push notifications service apps process the image payload correctly.
Step 5: Register the Bundle ID and Provisioning Profile
To finalize the Notification Service Extension:
- Register the new bundle ID (e.g., com.devsx.imagenotifications.imagenotificationsappserviceextension) in the Apple Developer Portal under Identifiers.
- Generate a provisioning profile for the new bundle ID and select it in your project settings.
Step 6: Update the Main MAUI Project
In your main MAUI project, add a reference to the Notification Service Extension project in the .csproj file:
<ItemGroup>
    <ProjectReference
       Include="..\NotificationServiceExtension\NotificationServiceExtension.csproj">
        <IsAppExtension>true</IsAppExtension>
        <IsWatchApp>false</IsWatchApp>
    </ProjectReference>
</ItemGroup>
This links the extension to your iOS push notifications app, enabling it to handle image notifications.
That’s it! Now send a new notification using Firebase Console or API and provide a link to your fabulous image. Enjoy!
Conclusions
This 6-step guide shows you how to add images to Firebase push notifications in iOS apps. It is straightforward and enables you to fix Firebase image not showing in iOS push notifications. Should you have any questions or encounter any challenges - we will be happy to answer them in the comments.
More great guides are coming up!